Docker is a software platform for building applications based on containers — small and lightweight execution environments that make shared use of the operating system kernel but otherwise run in isolation from one another. From a practical standpoint, Docker is a way to package software so that it can run on any hardware.
Since the Docker ecosystem is so vast, I am keeping this post to the very basics of things. There are hundreds of great articles that explain each concept in detail so I will be referencing them at the last.
Terminology
Before we dive in, the following is a list of basic docker terminology which we should be aware of.
Dockerfile It is a blueprint to build a Docker Image. A text document containing the commands to build a Docker image. The first line states the base image to begin with and then follow the instructions to install required programs, copy files, and so on until you get the working environment you need.
Image A standalone, executable package that can be run in a container. An image includes everything that is needed to run an application, including the application's executable code, any software on which the application depends, and any required configuration settings.
Container A container is a runtime instance of a Docker image. It consists of the contents of a Docker image, an execution environment, and a standard set of instructions. A single image can be used to spawn multiple containers for scaling the application.
Docker-compose Compose is a tool for defining and running multi-container Docker applications. Let’s assume that an application needs a node server and a database to run. We use a YAML file to configure these different application services. Then, with a single command, we can deploy this whole multi-container application.
Image layer In an image, a layer is a modification to the image, represented by an instruction in the Dockerfile. When an image is updated or rebuilt, only layers that change need to be updated, and unchanged layers are cached locally. This is part of why Docker images are so fast and lightweight. The sizes of each layer add up to equal the size of the final image.
Volume A volume is a directory that can be associated with one or more containers. It is used to share storage across different containers, or anyway storage that can outlive the user container.
Docker Hub A public registry to upload images and work with them. Here’s a quick link to the detailed glossary.
“Hello World” in Docker
The best way to learn Docker is to build and containerize an application. Let’s take a simple example to package a webserver. We will be following these steps
- write the Dockerfile
- build the Docker image
- run the image in a container
- debug the image for size and filesystem changes
The code can be found here
1. Writing the Dockerfile
The first line in a Dockerfile states which base image we will be working on. This base image contains the OS and other libraries neatly package in an image. Mostly these will be hosted on the DockerHub. The rest of the commands are instructions to build the application.
# Step 1: Base Image
FROM node:10

# Step 2: Set the container current working directory (PWD) to “/app”
WORKDIR /app

# Step 3,4: Copy relevant files to install dependencies
COPY package.json package-lock.json* ./
RUN npm install

# Step 5: Copy rest of the code files
COPY . .

# Step 6: Build the project
RUN npm build

# Step 7: Flag that the software inside this image listens on port 3000
EXPOSE 3000

# Step 8: Specify the command to be run inside the container when it’s started
CMD [ "npm", "start" ]
2. Building the Docker image
Initiate the Docker build which will create an image reading from the defined Dockerfile
docker build -t hello-world-docker-image /path/to/dockerfiledir

### Output:
Step 1/8 : FROM node:10
 ---> 2457d5f85d32
Step 2/8 : WORKDIR /app
 ---> Running in 74ce05978619
Removing intermediate container 74ce05978619
 ---> f5f50ba04e95
Step 3/8 : COPY package.json package-lock.json* ./
 ---> f6544c026af6
Step 4/8 : RUN npm install
 ---> Running in 440bd0140625
Removing intermediate container 440bd0140625
 ---> 4837cefb29ff
Step 5/8 : COPY . .
 ---> 010bd6630998
Step 6/8 : RUN npm build
 ---> Running in 6badd3424eff
Removing intermediate container 6badd3424eff
 ---> c92dc3eb8017
Step 7/8 : EXPOSE 3000
 ---> Running in db8cd59986bb
Removing intermediate container db8cd59986bb
 ---> 8810d0c4d69b
Step 8/8 : CMD [ "npm", "start" ]
 ---> Running in 778d2f754be0
Removing intermediate container 778d2f754be0
 ---> d9f46f4996de
Successfully built d9f46f4996de
Successfully tagged hello-world-docker-image:latest
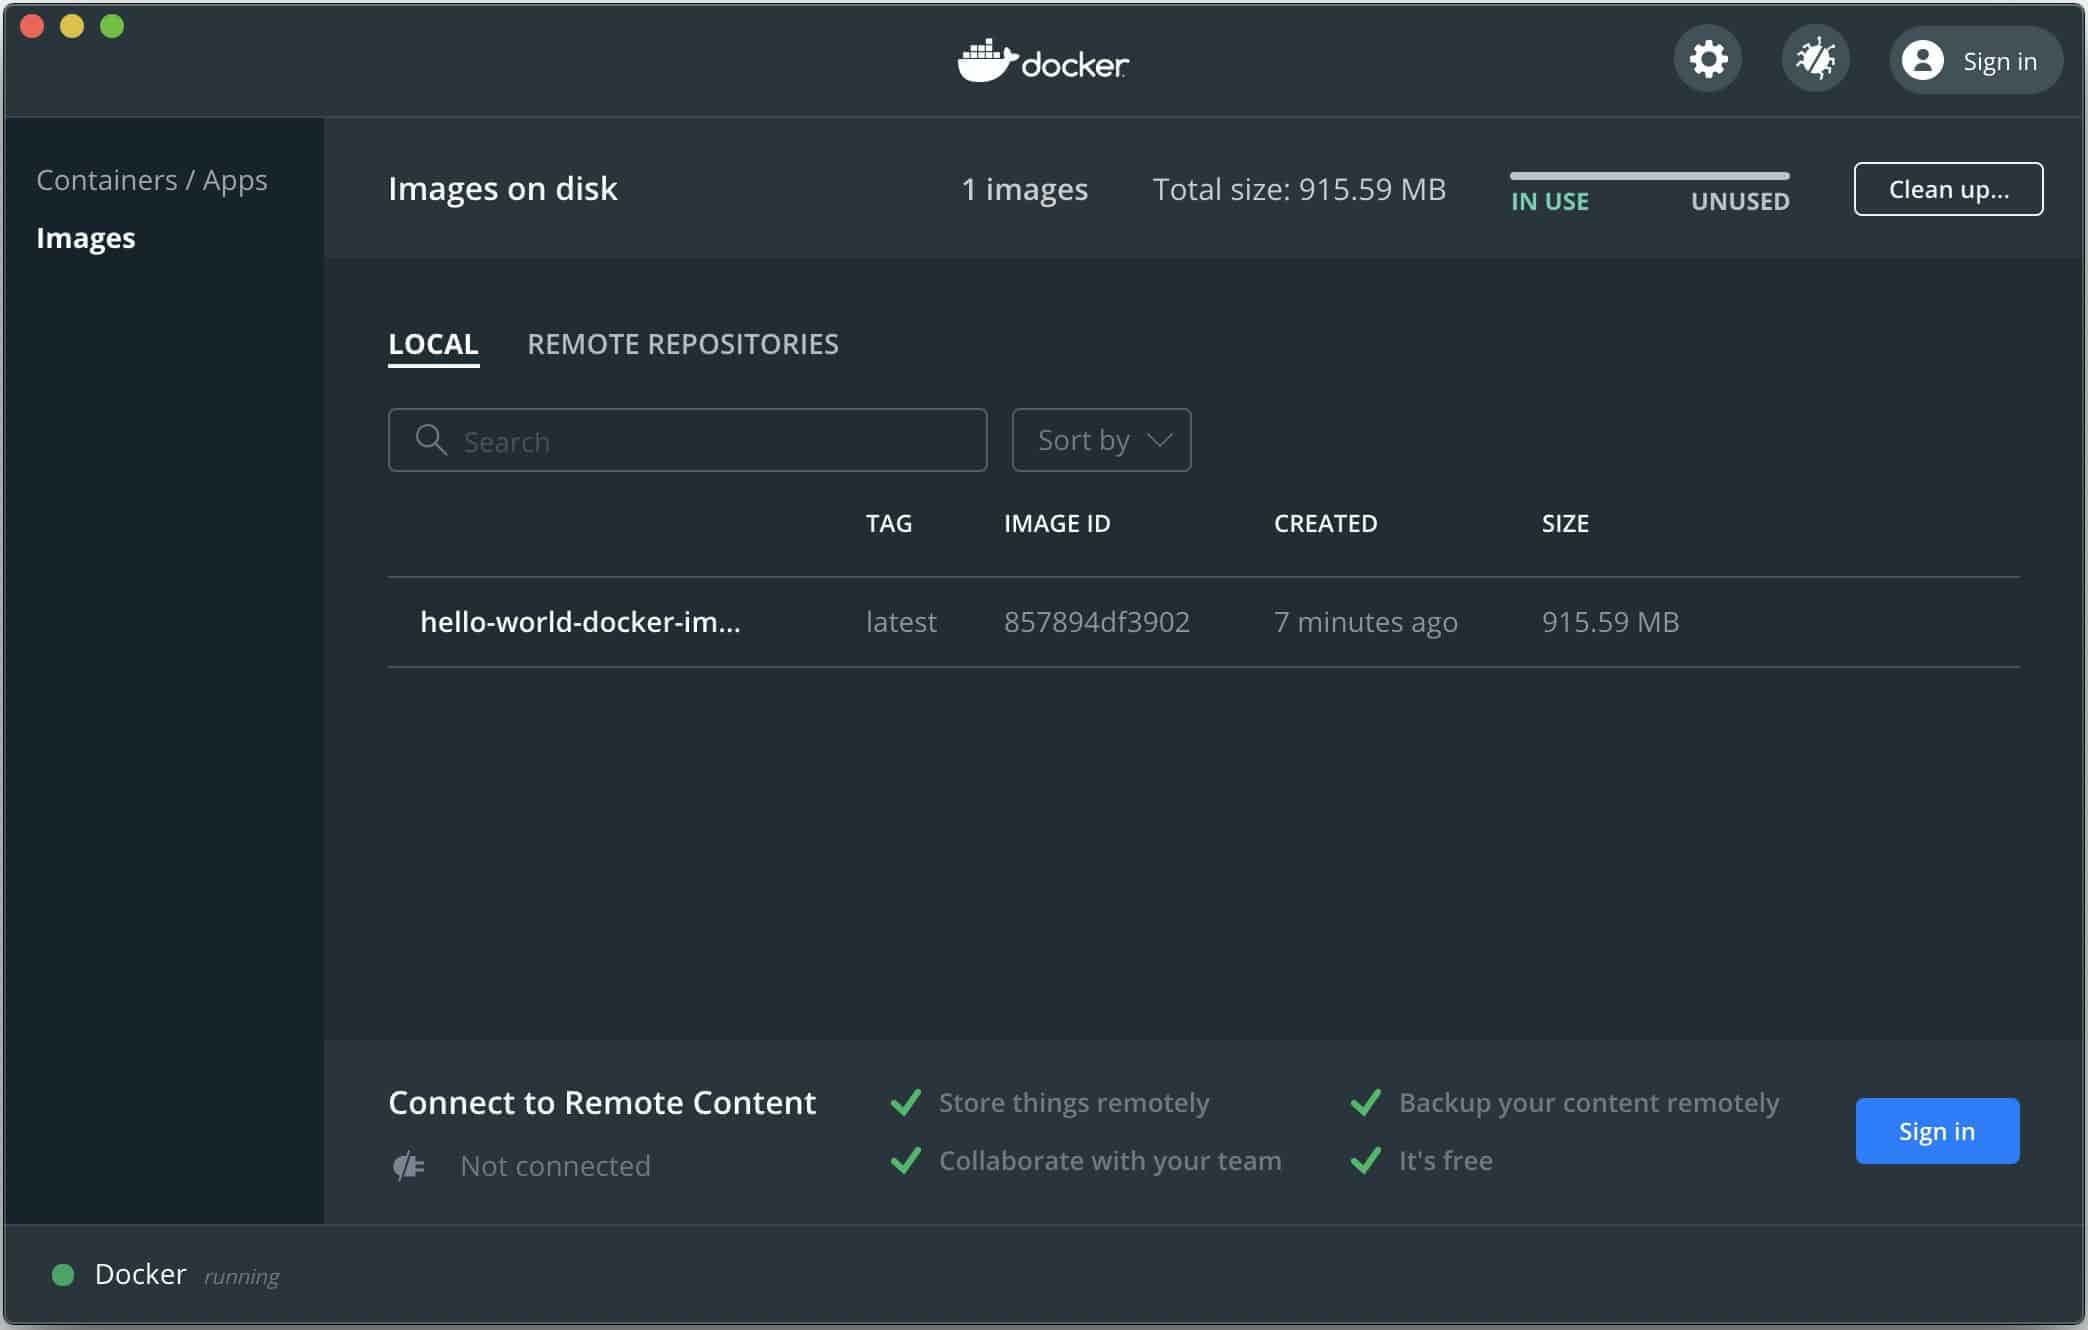
Evident from the output, we can see that Docker reads and executes all the instructions one by one. Each instruction adds a layer which adds to the final image (an onion-like structure). Following is the screenshot from the Docker Desktop App which shows all the details for this created image.

3. Running the image in container
Now we run this hello-world-docker-image image which creates a container and tags it as hello-world-container.
docker run -d -p 4000:3000 --name hello-world-container hello-world-docker-image

1331f68c68702d2dbdbc8455d68b77bbada89cb4ea04e5a238536d685ade9fa2
To test this on our local machine, we have asked Docker to forward port 3000 from the container to port 4000 on the host machine.
4. Debugging and Inspecting layers
From the Docker app, we can see that the final image was 915 MB. To check the constituents of individual layers we can use the docker history command.
docker history --human --format "{{.CreatedBy}}: {{.Size}}" hello-world-docker-imageMy personal favorite tool is dive. We can debug an image using dive hello-world-docker-image command.
If the image build process fails, we can still run a container with any of the successful layer id using the following command.
docker run --rm -it <DOCKER_LAYER_ID> bash -il
References
-
Docker Summaries
-
Docker for monorepo
-
Reducing size of Docker builds
-
Miscellaneous
